When I began broadening my scope of nail art, the first thing I purchased was a brush set. As I watched youtube videos of ladies doing all of these amazing designs on nails, I really had no other option other than purchasing a whole brush set. You can’t do fine lines details without a striper brush, or to make perfect fading circles one can use a square brush. My brush set came from Amazon and was no more than $15 (with a case) and it’s been my life savor. I love it soooooo much. The first thing I did once getting my set was to watch youtube tutorials on all of the brushes, what shapes each one is most suitable in making, and how to clean and properly use the brushes regardless of their designated shape.
One of the brushes that most intrigued me was the fan brush. As I said, it’s an awkward shape, and is only useful when the tips of the brush is used. I have used it once before this post, and honestly, failed miserably, so I decided to try again and succeeded! This design is super easy and the only special item one needs to purchase is the fan brush itself because I cannot think of any other item which could be used in place of the brush.
As my base I painted my nails a skin color taupe. This is to provide a sheer color for the base, but something to allow the top colors to pop out with. Another option would be white, but I tend to dislike putting white on my nails unless I need a complete translucent color to be opaque. Then I used a baby pink, hot pink, and a sort of coppery color as my layers. Any color scheme could work for this nail art, so you definitely do not have to copy my scheme. You could even use the same family of pigments, just use a light, medium, and dark.
To begin, make sure your fan brush is a little wet (dip in water) and make sure the bristles are fully separated. Dip into the nail polish pigment, and wipe on a scratch piece of paper any excess color so that the fan brush isn’t too globby (you will know what this looks like, trust me). Choose one direction to use the brush, and add to your nail. Be quick at this stage, nail polish tends to dry quickly both on your brush and on the plate that you are using for your color. I used baby pink first, since it was the least opaque, and placed this closest to the cuticle.
Once the baby pink was used, I dipped the brush into a small container of nail polish remover and cleaned the brush. I wiped the brush clean and moved onto the next nail color, hot pink in my case. I repeated those steps, and finished with a top coat.
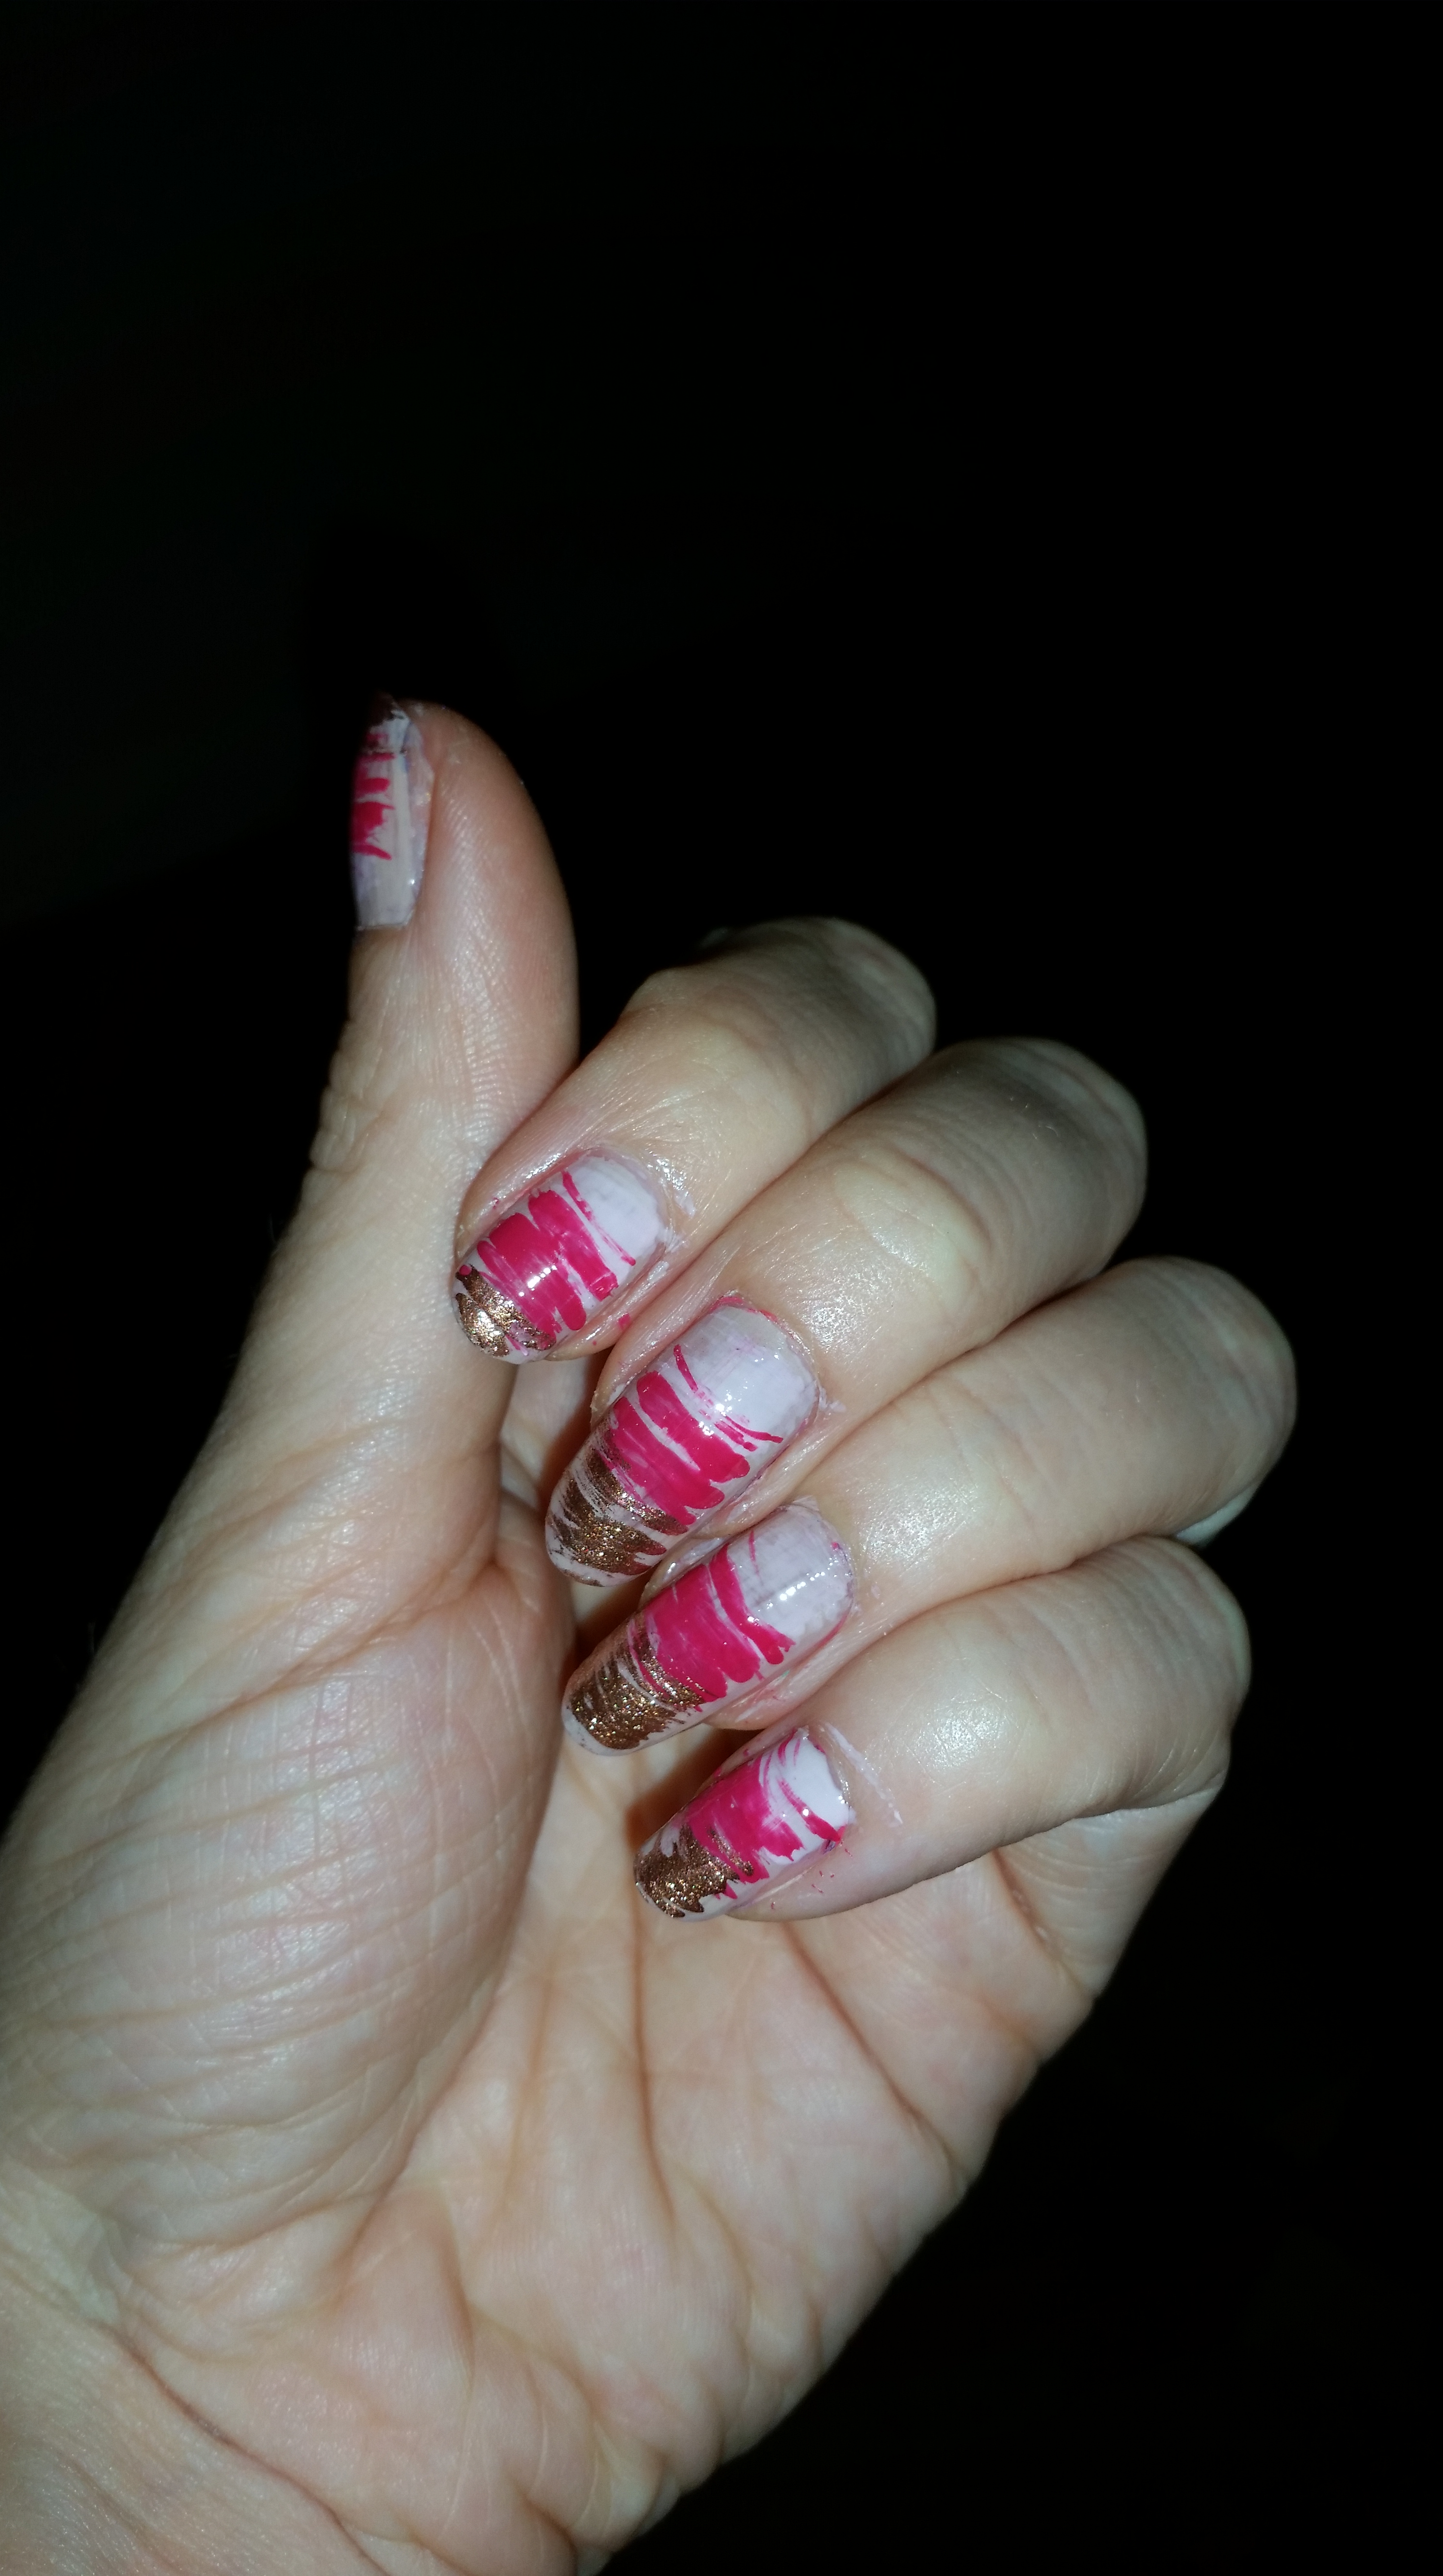
Fan brush nails.
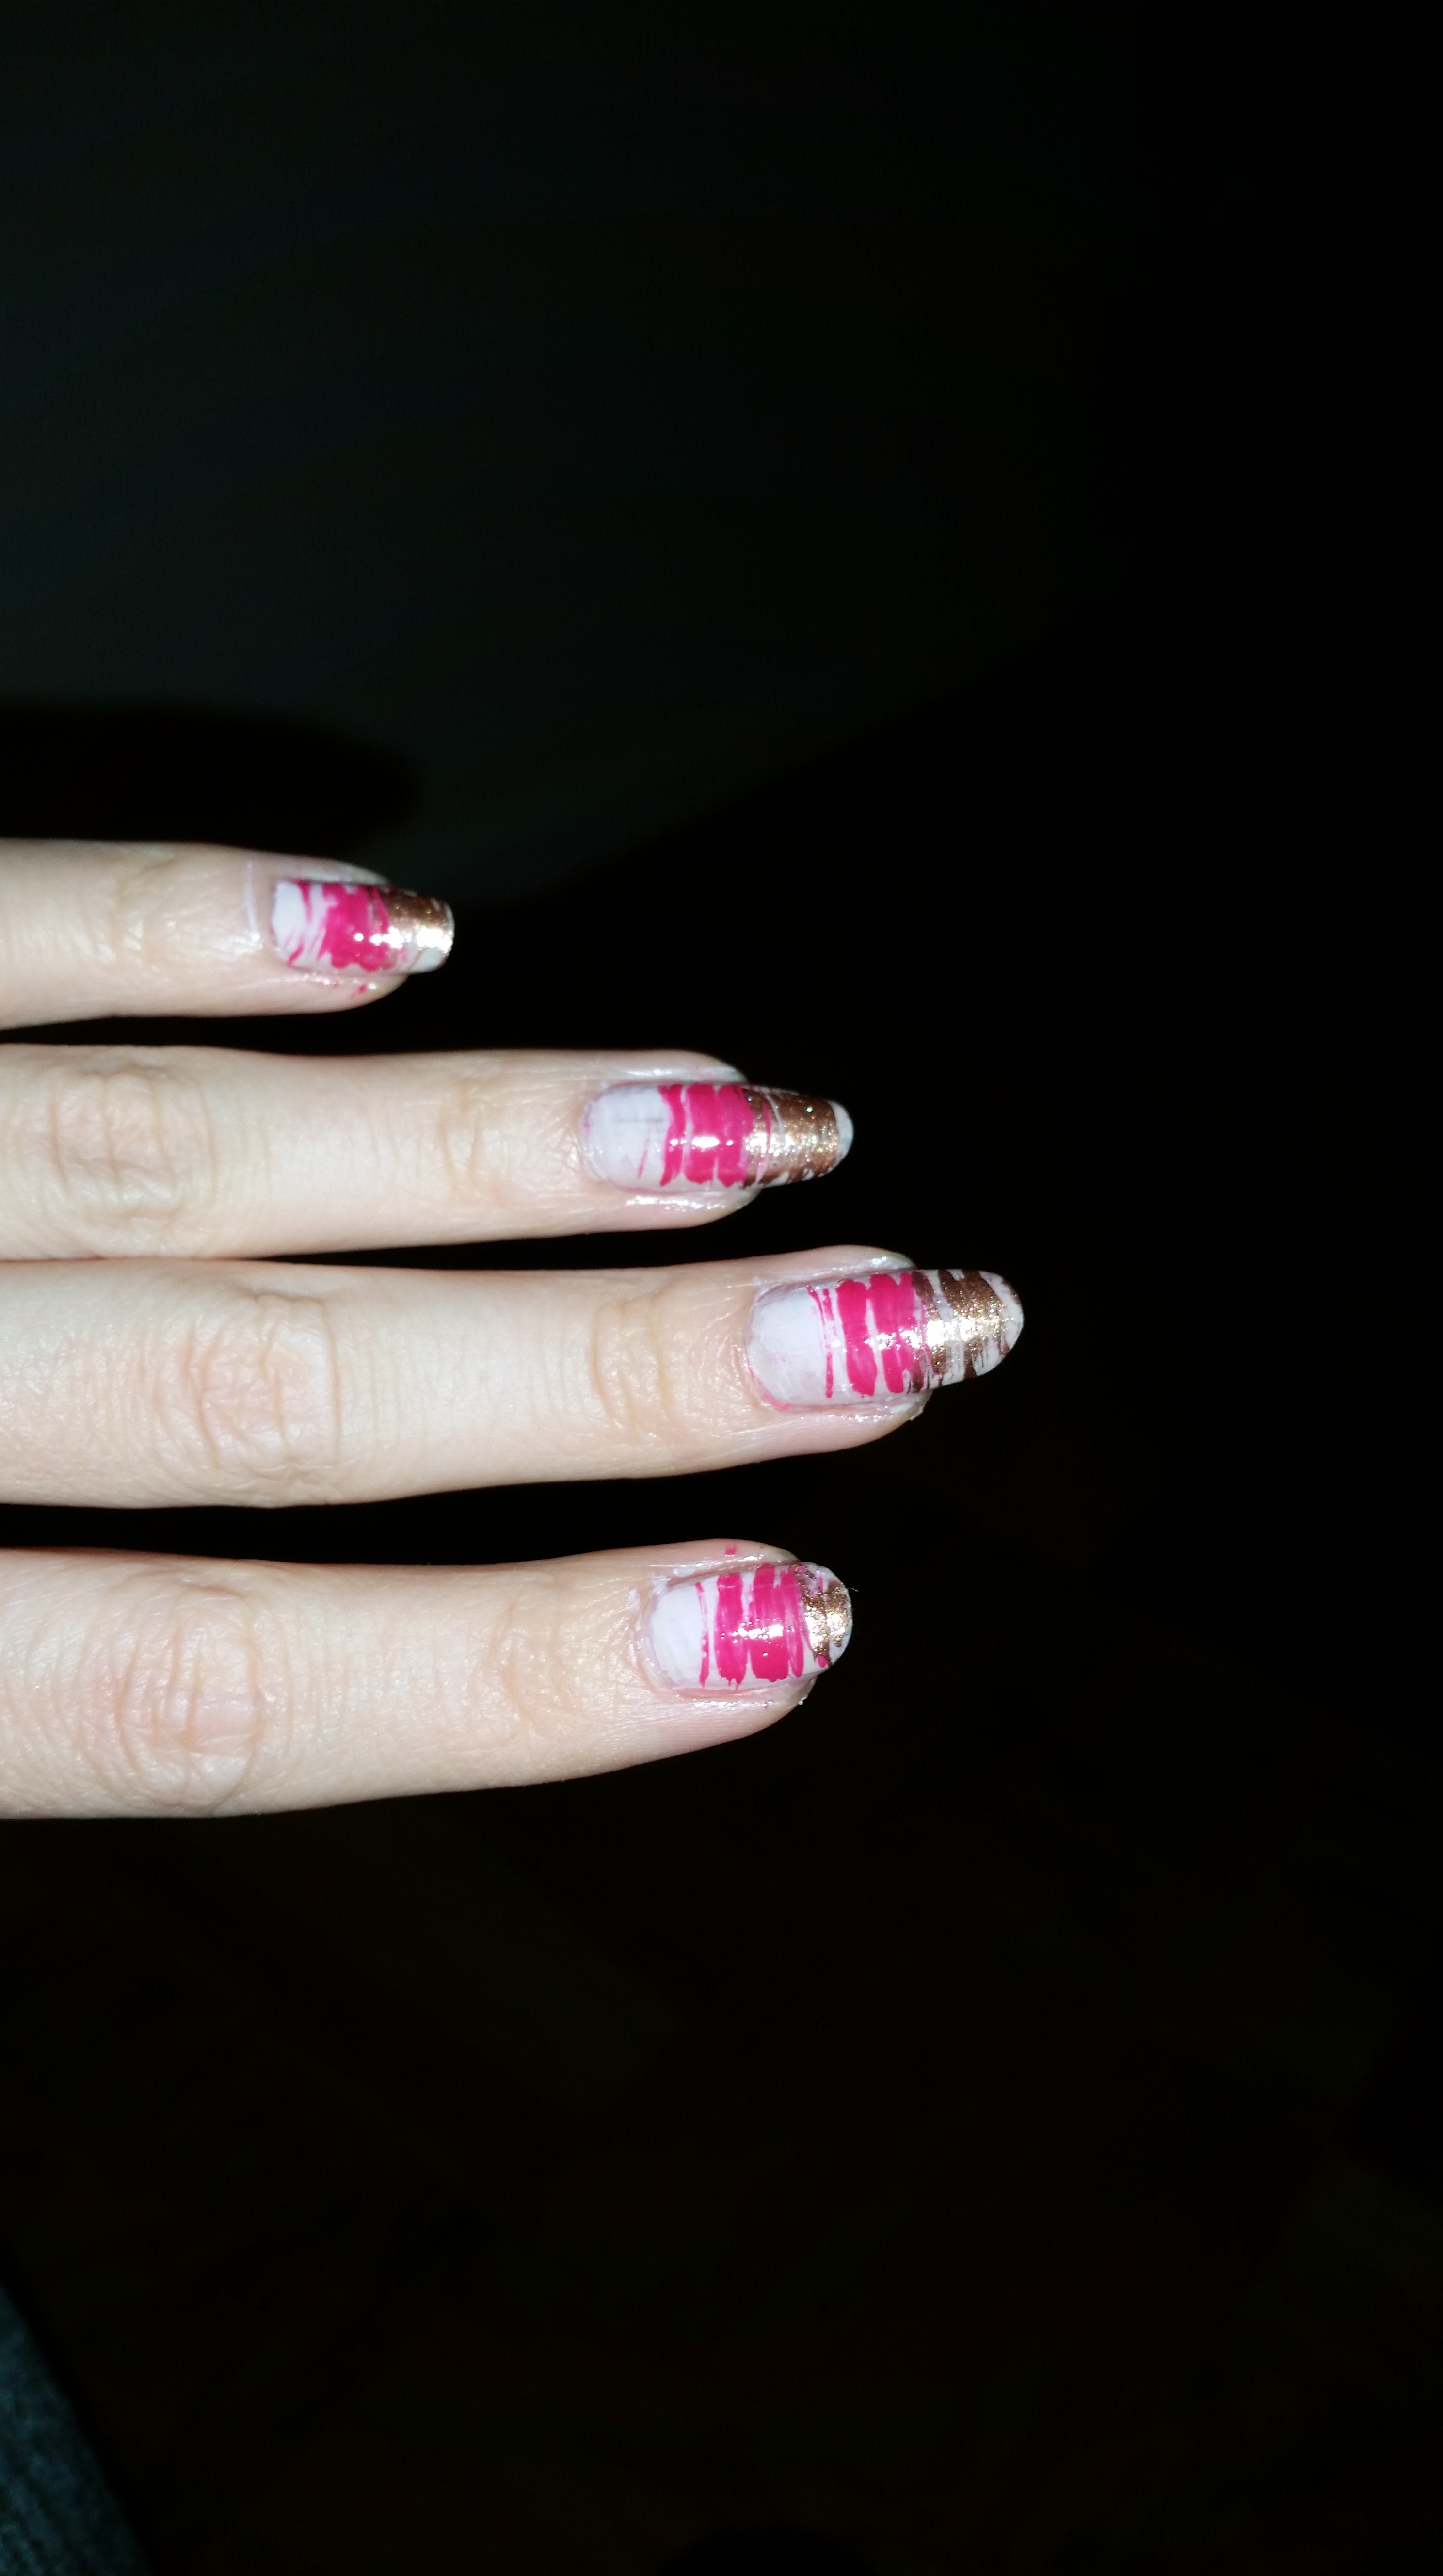
Fan brush nails.
Again, this is really simple and if you have any questions, don’t hesitate to ask!
