I’m usually all about easy DIY nail designs, but this one is a bit more complex than my usual designs in that you need more than just nail polish colors. For this, you need dotting tools and a thin paint brush. Instead of a dotting tool, one can use a toothpick, but mind that nail polish will dry on the toothpick so you will have to switch sides or another toothpick. Also, a think brush is needed for the accent nail. I have a set of brushes (that I’ve been meaning to do a post about) and one of them is a “striper” brush used to make thin lines. Anyway, let me know what you think!
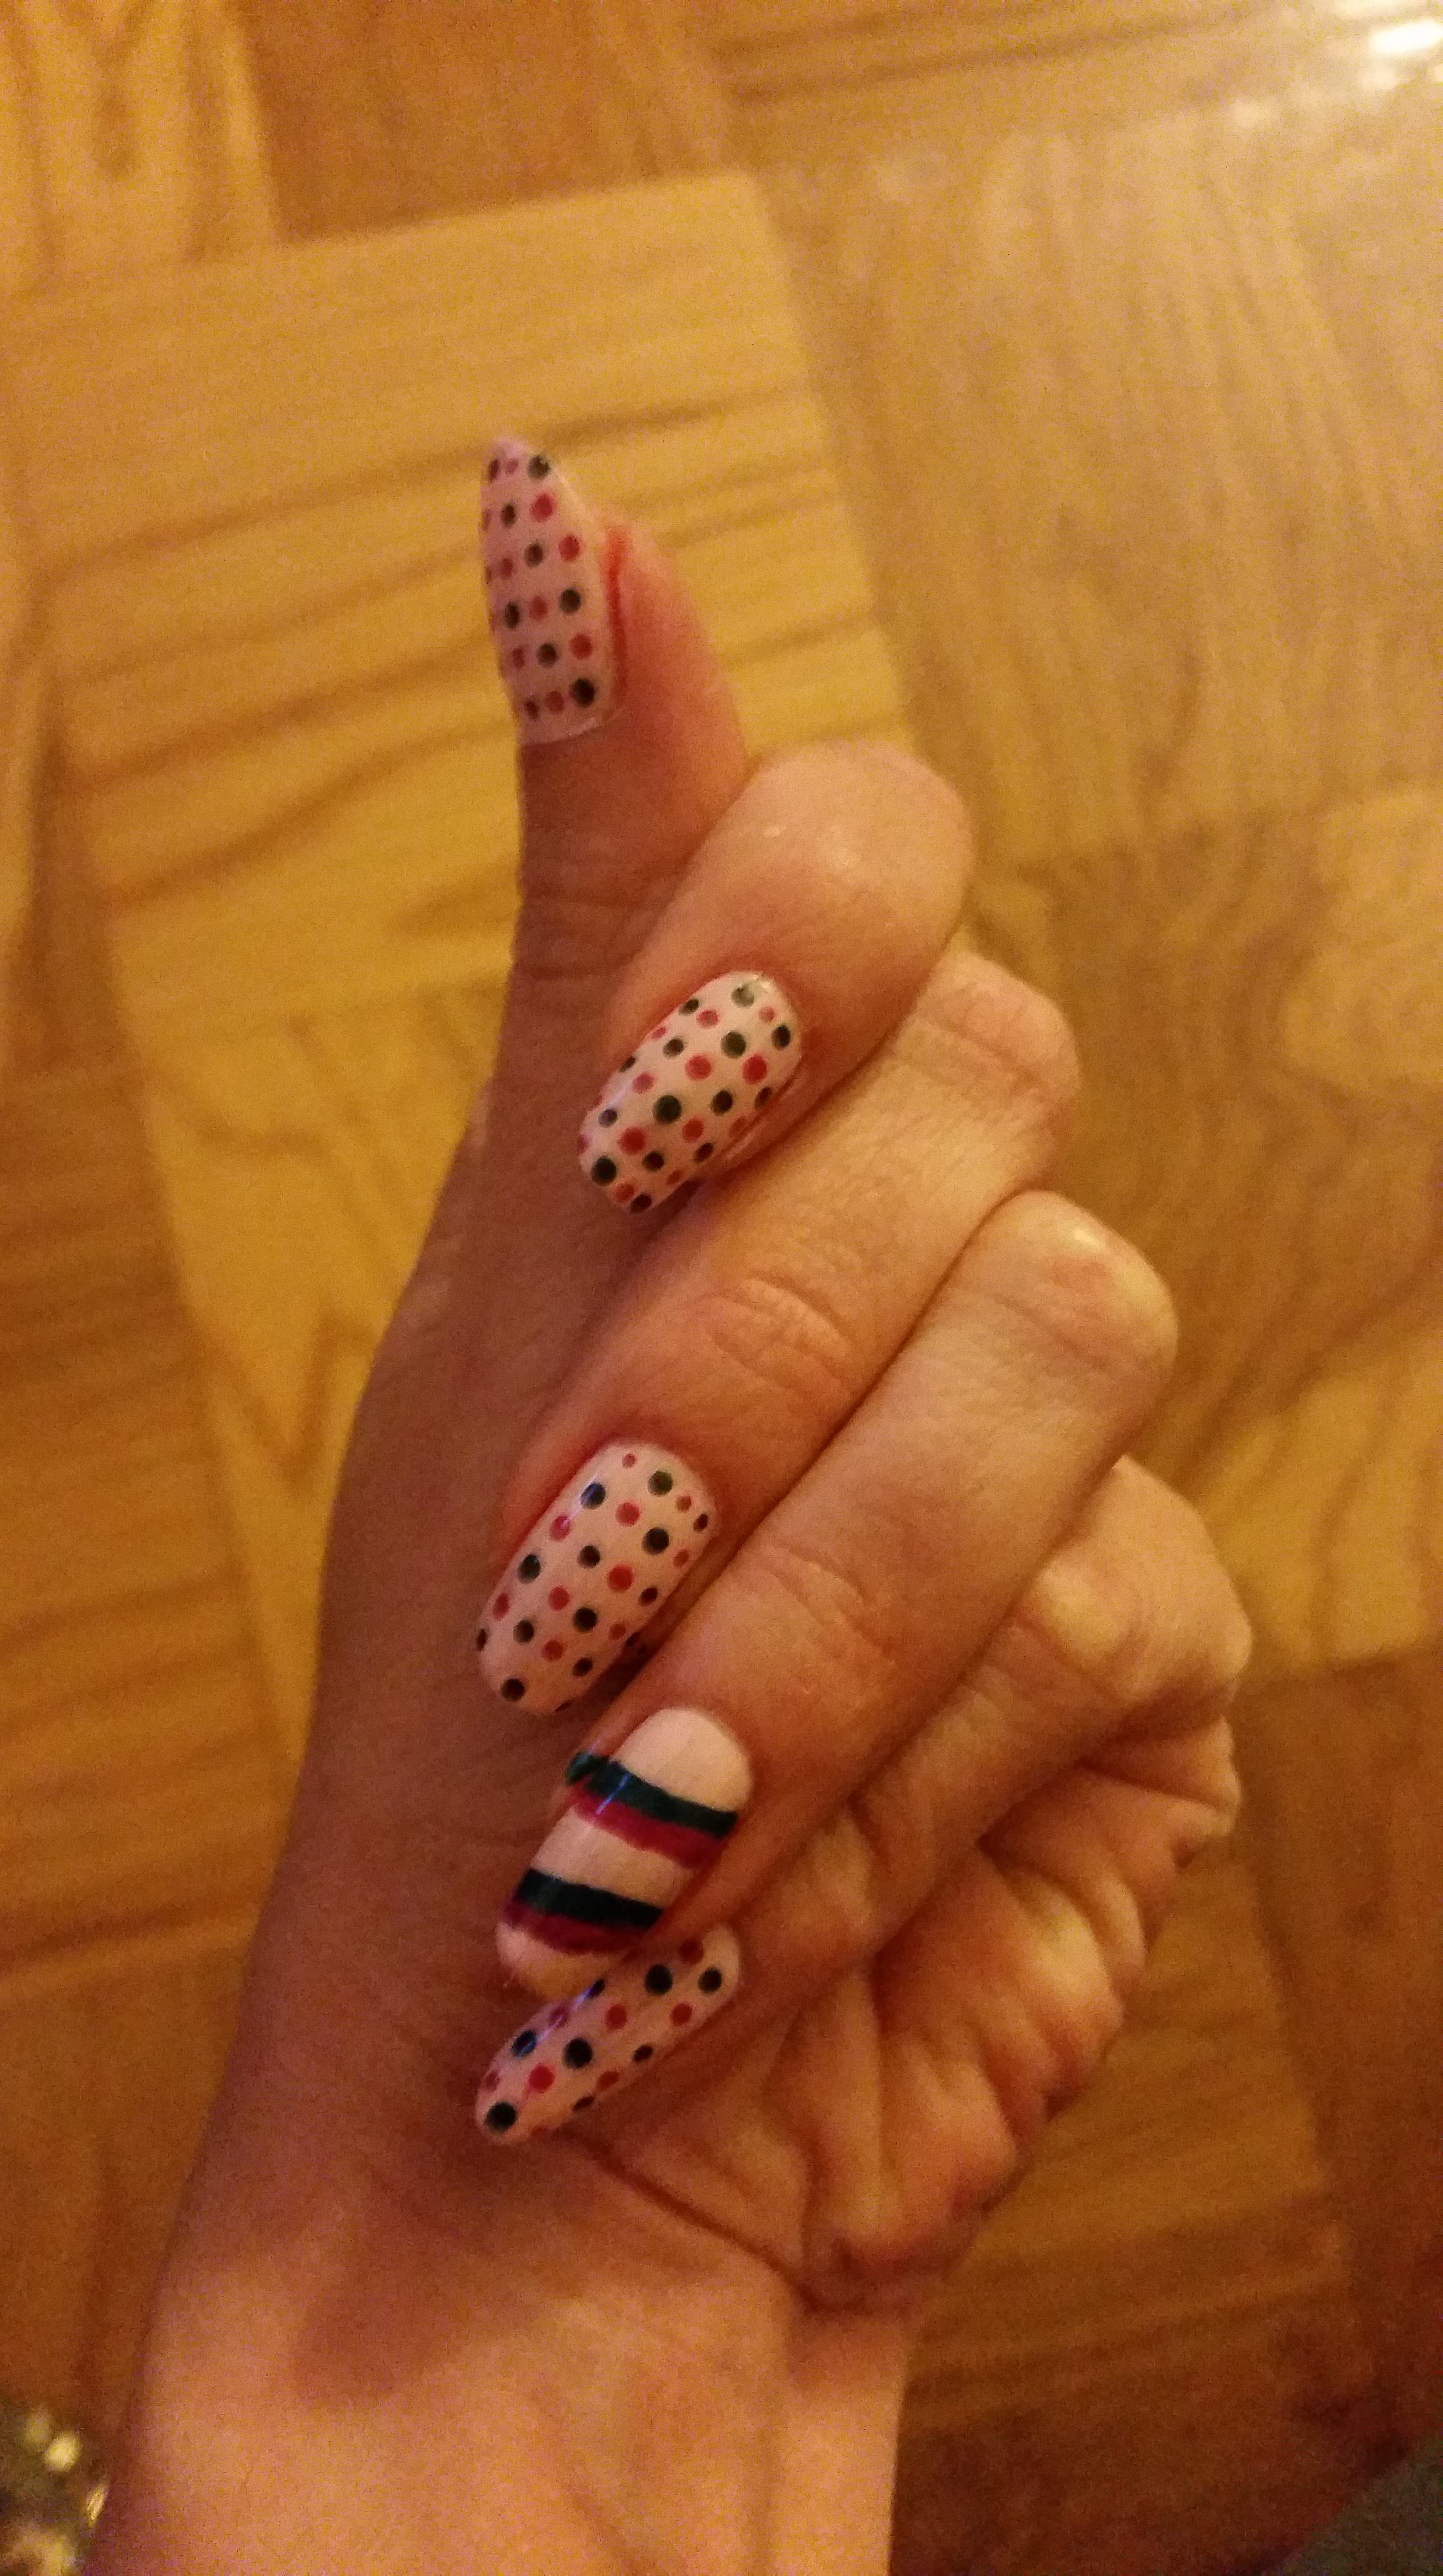
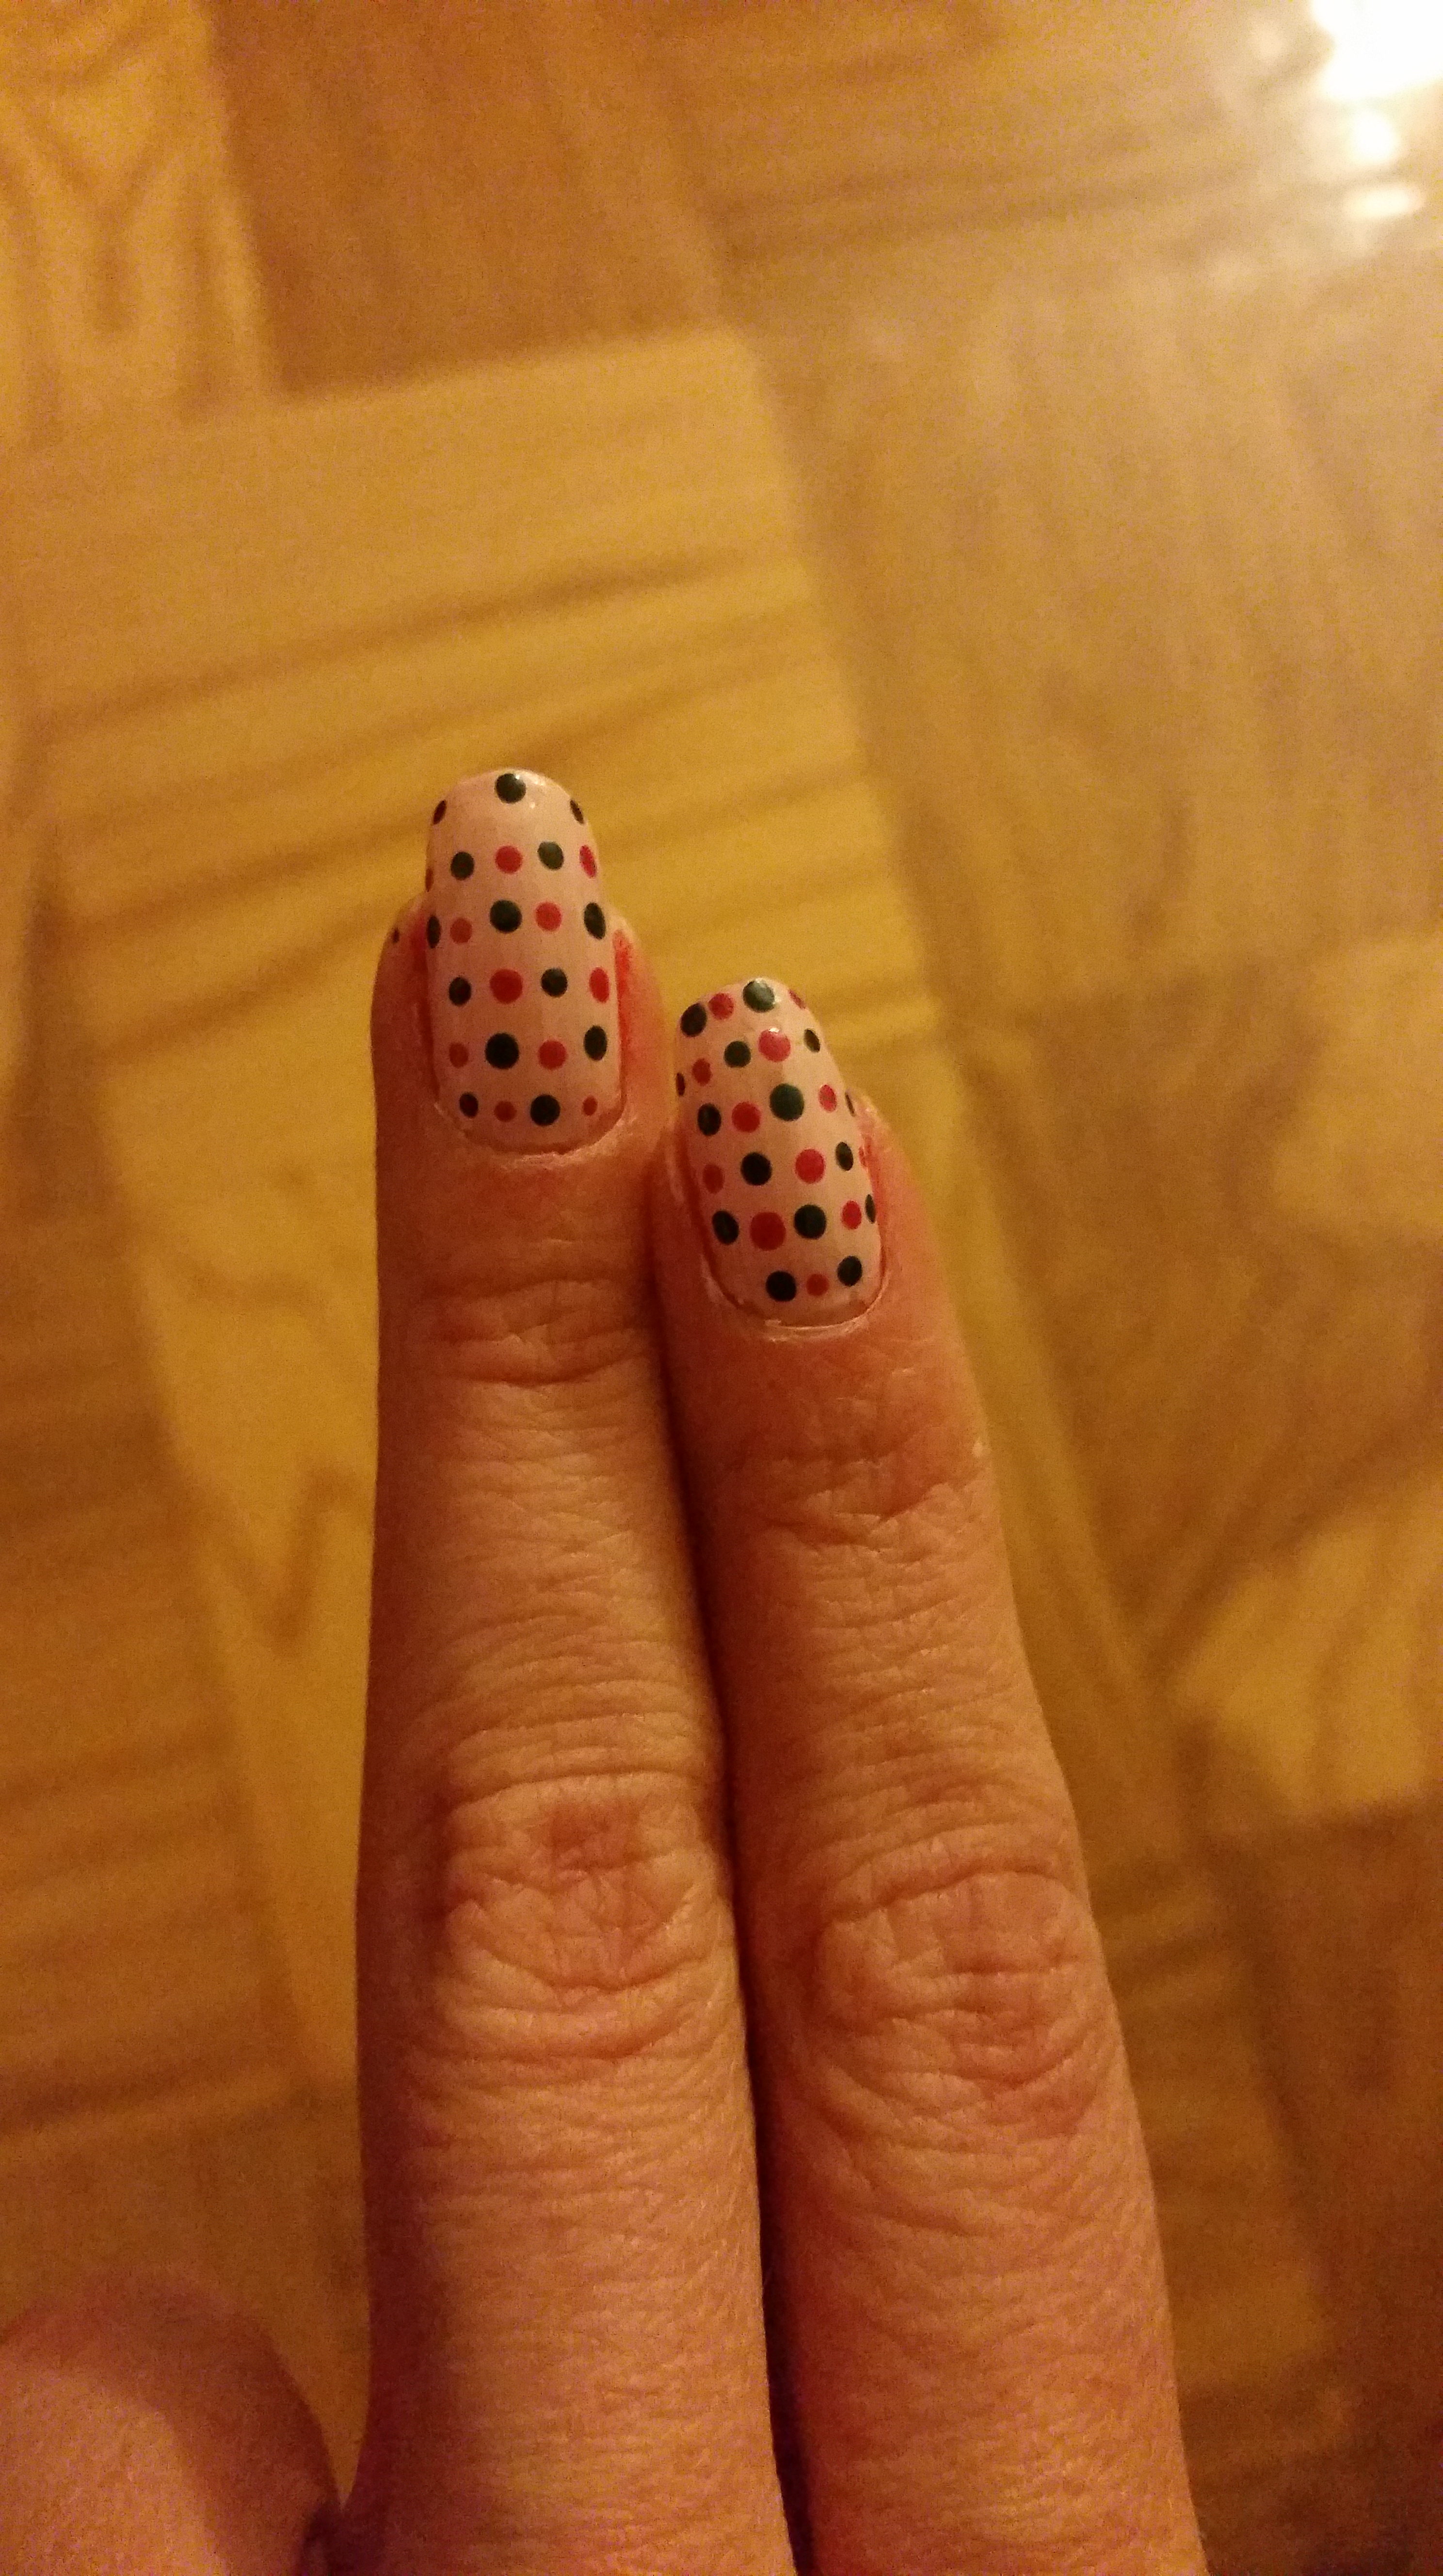
I used a light pink base (2 coats) and a dark green/teal and magenta color for the dots. Honestly, it’s easiest if you start with one color and leave room for the other colored dots so you are inverting colors on your dotting tool. Note, that all of my dots are in straight lines. For this design, I think that the randomization of the dots detracts from the rigidity of the design, so I made everything as on axis as possible.
For the accent nail, to keep with the rigid design, I did two diagonal swipes of nail polish. I painted these swipes as they were still wet so the colors melted together which made the design cleaner to me.
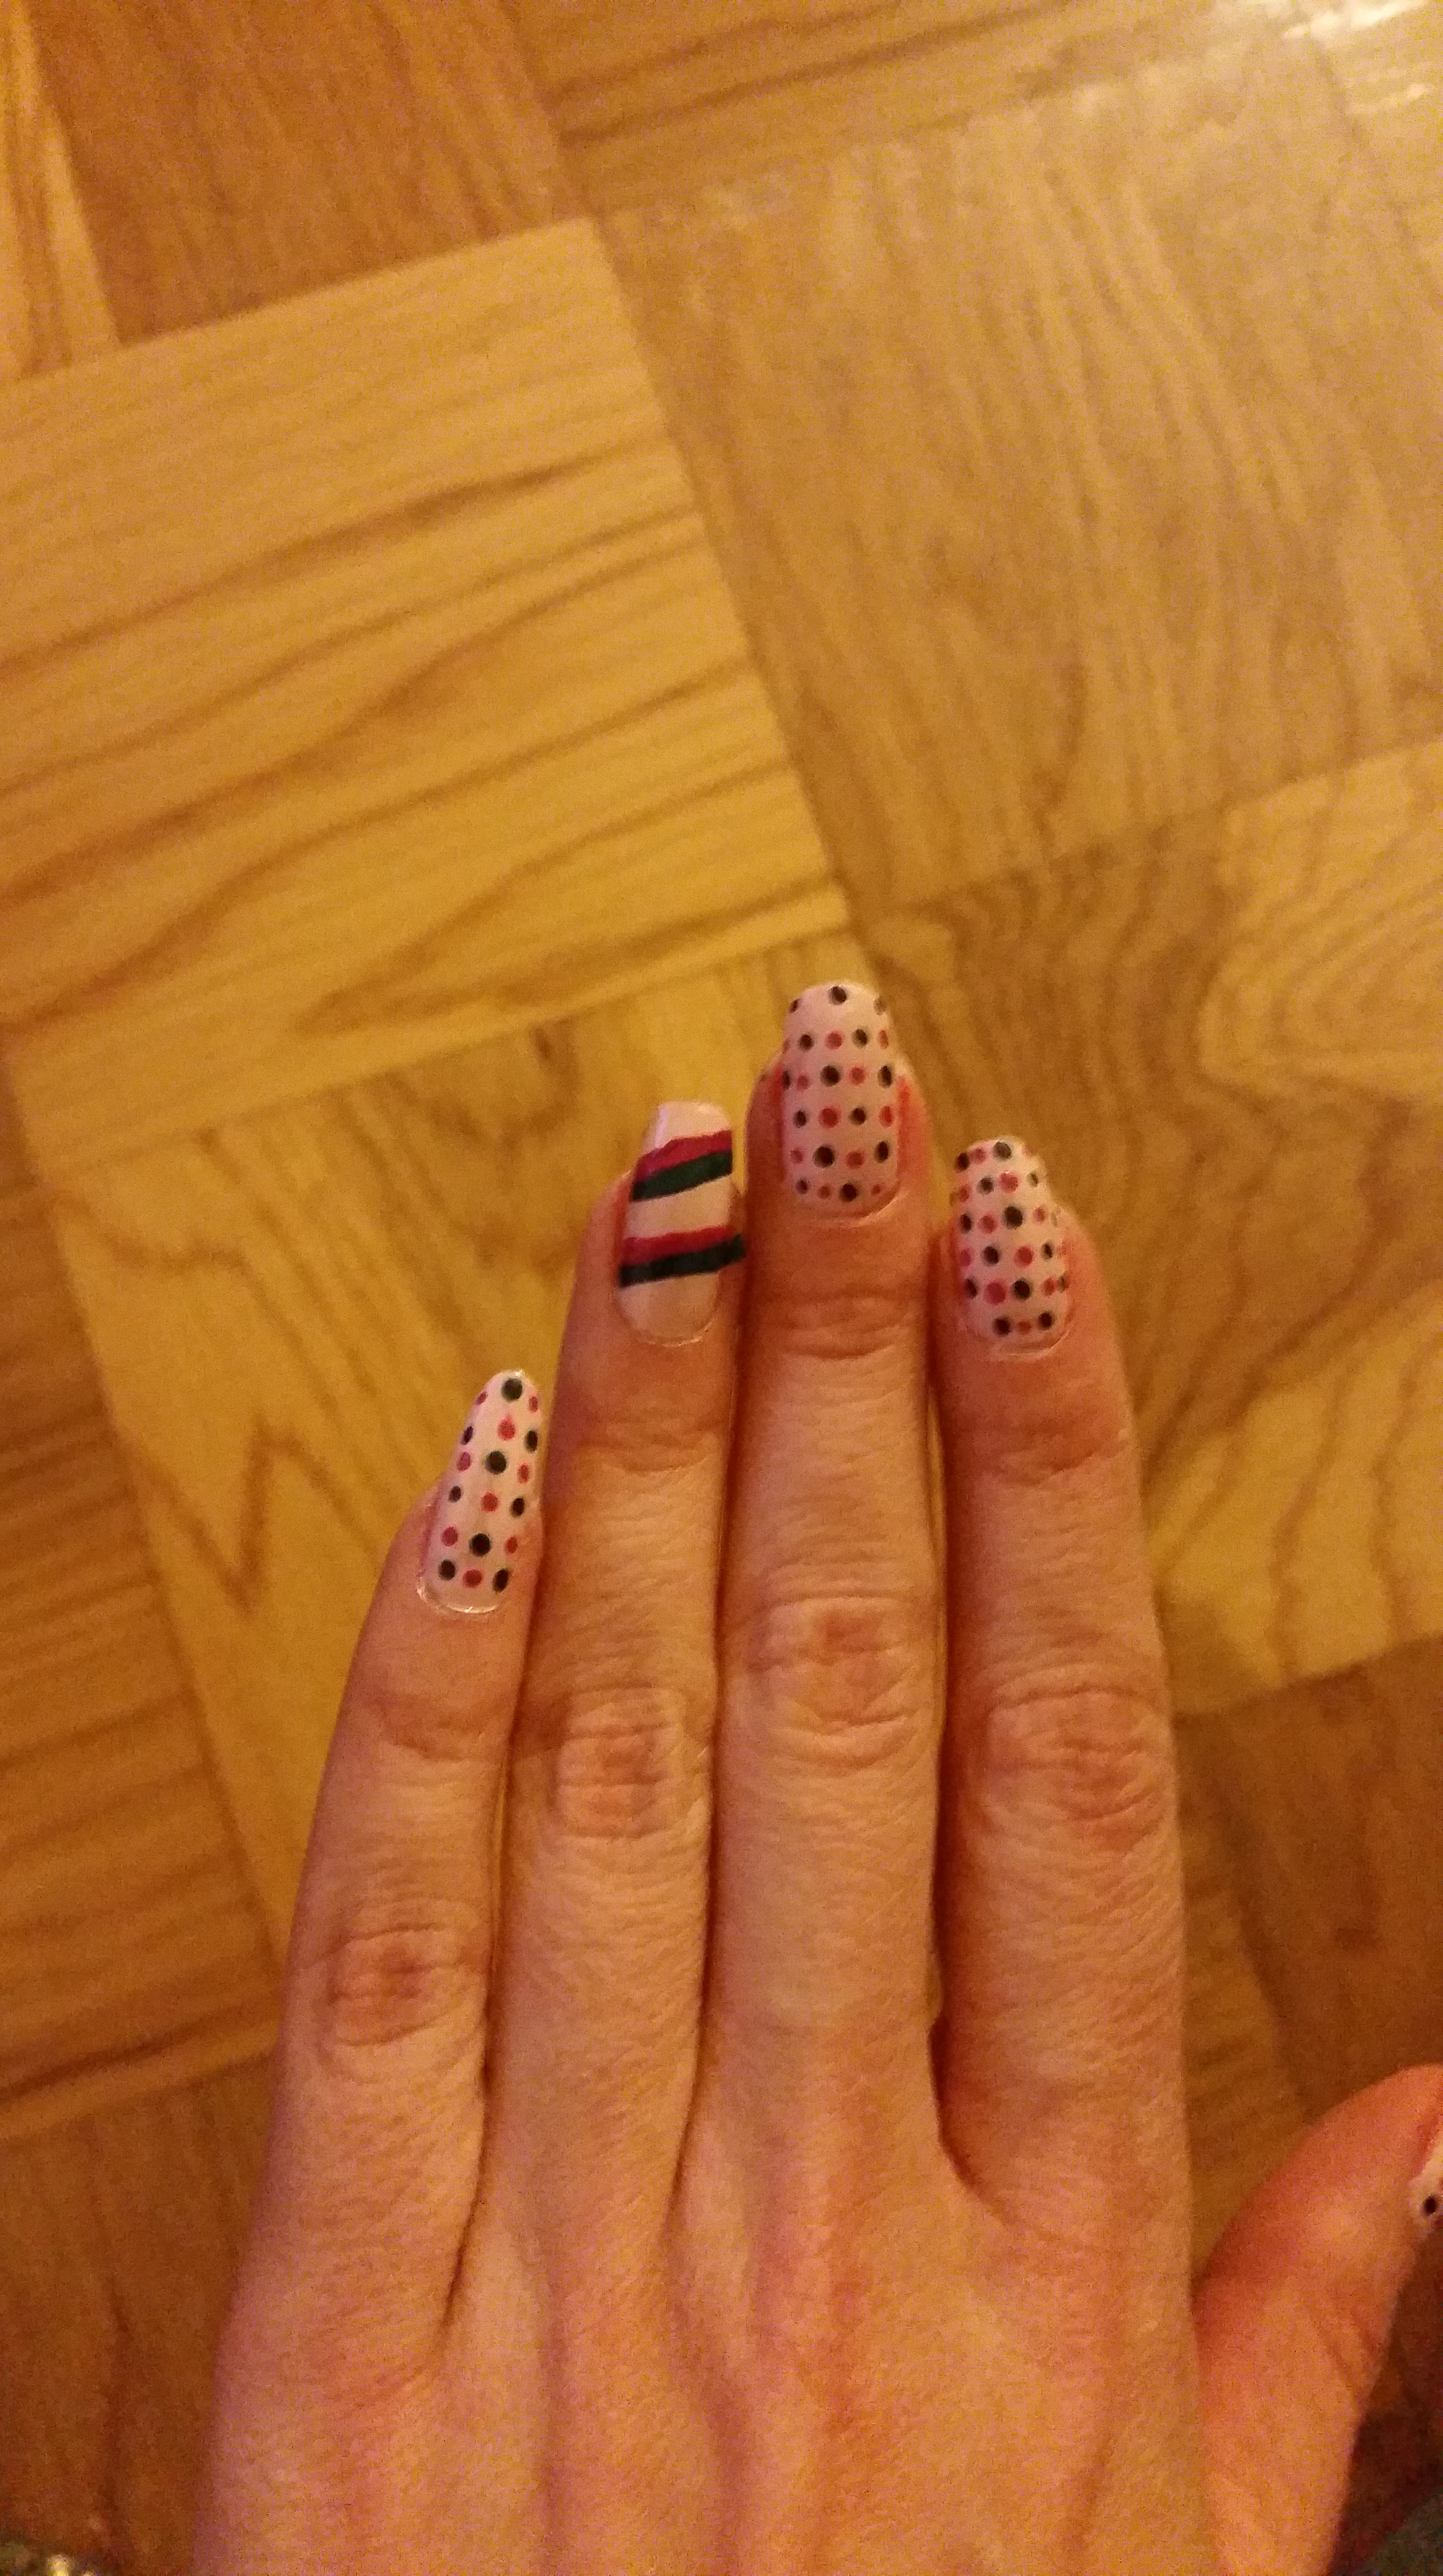
Lastly, you may know (or now I will draw your attention to) how some of the dots have feathered into the pink (even parts of the accent nail). I sealed my design with a top coat, and even though I thought it was dry the top coat caused the feathering. Dots are a challenge to work with because they leave a glob of polish that wont dry quickly, so when you add a top coat you smear the polish from the dots onto the rest of the polish. Just a note. I liked this design but wasn’t patient enough to wait for the polish to completely dry.