I stumbled across an image of a nail that had a criss-cross theme this past weekend and was like: “OoooooO, I wanna try!” So, obviously, I did.
This design is a bit more time consuming than my previous designs and the main reason is it takes a while for the polish to completely dry in order to adhere the nail tape. Also, you have to pre-cut all of your tape segments (and there’s 4 per nail = 40 segments). But, the end result is pretty and makes your nails look much longer because your accentuating the tip rather than the whole nail. Hope you enjoy!
My color scheme was a bit different in that I really wanted to do a pink base, but also a dual color for the criss-cross that completed each other as well as the pink base. In the end, I think my color scheme is mediocre. I really liked it at the beginning and now it’s getting annoying. (Oh no, I’m going to have to re-do my nails?! What will I do??? HA!)
Directions:
1. I painted two coats of pink to get a smooth and thick layer of opaque polish. Let these dry completely before moving on to the taping step.
2. Prior to painting the pink I pre-cut 1.5 cm segments of striping tape. You can vary the length because some nails will need more than others, but try to stay approximately 1.5 cm
3. I placed the striping tape first on my left hand then painting the designs, let dry, then placed the tape on my right hand, painted the design and let dry. This was just a bit easier to do because the tape is a bit of a challenge to work with if all your fingers has it.
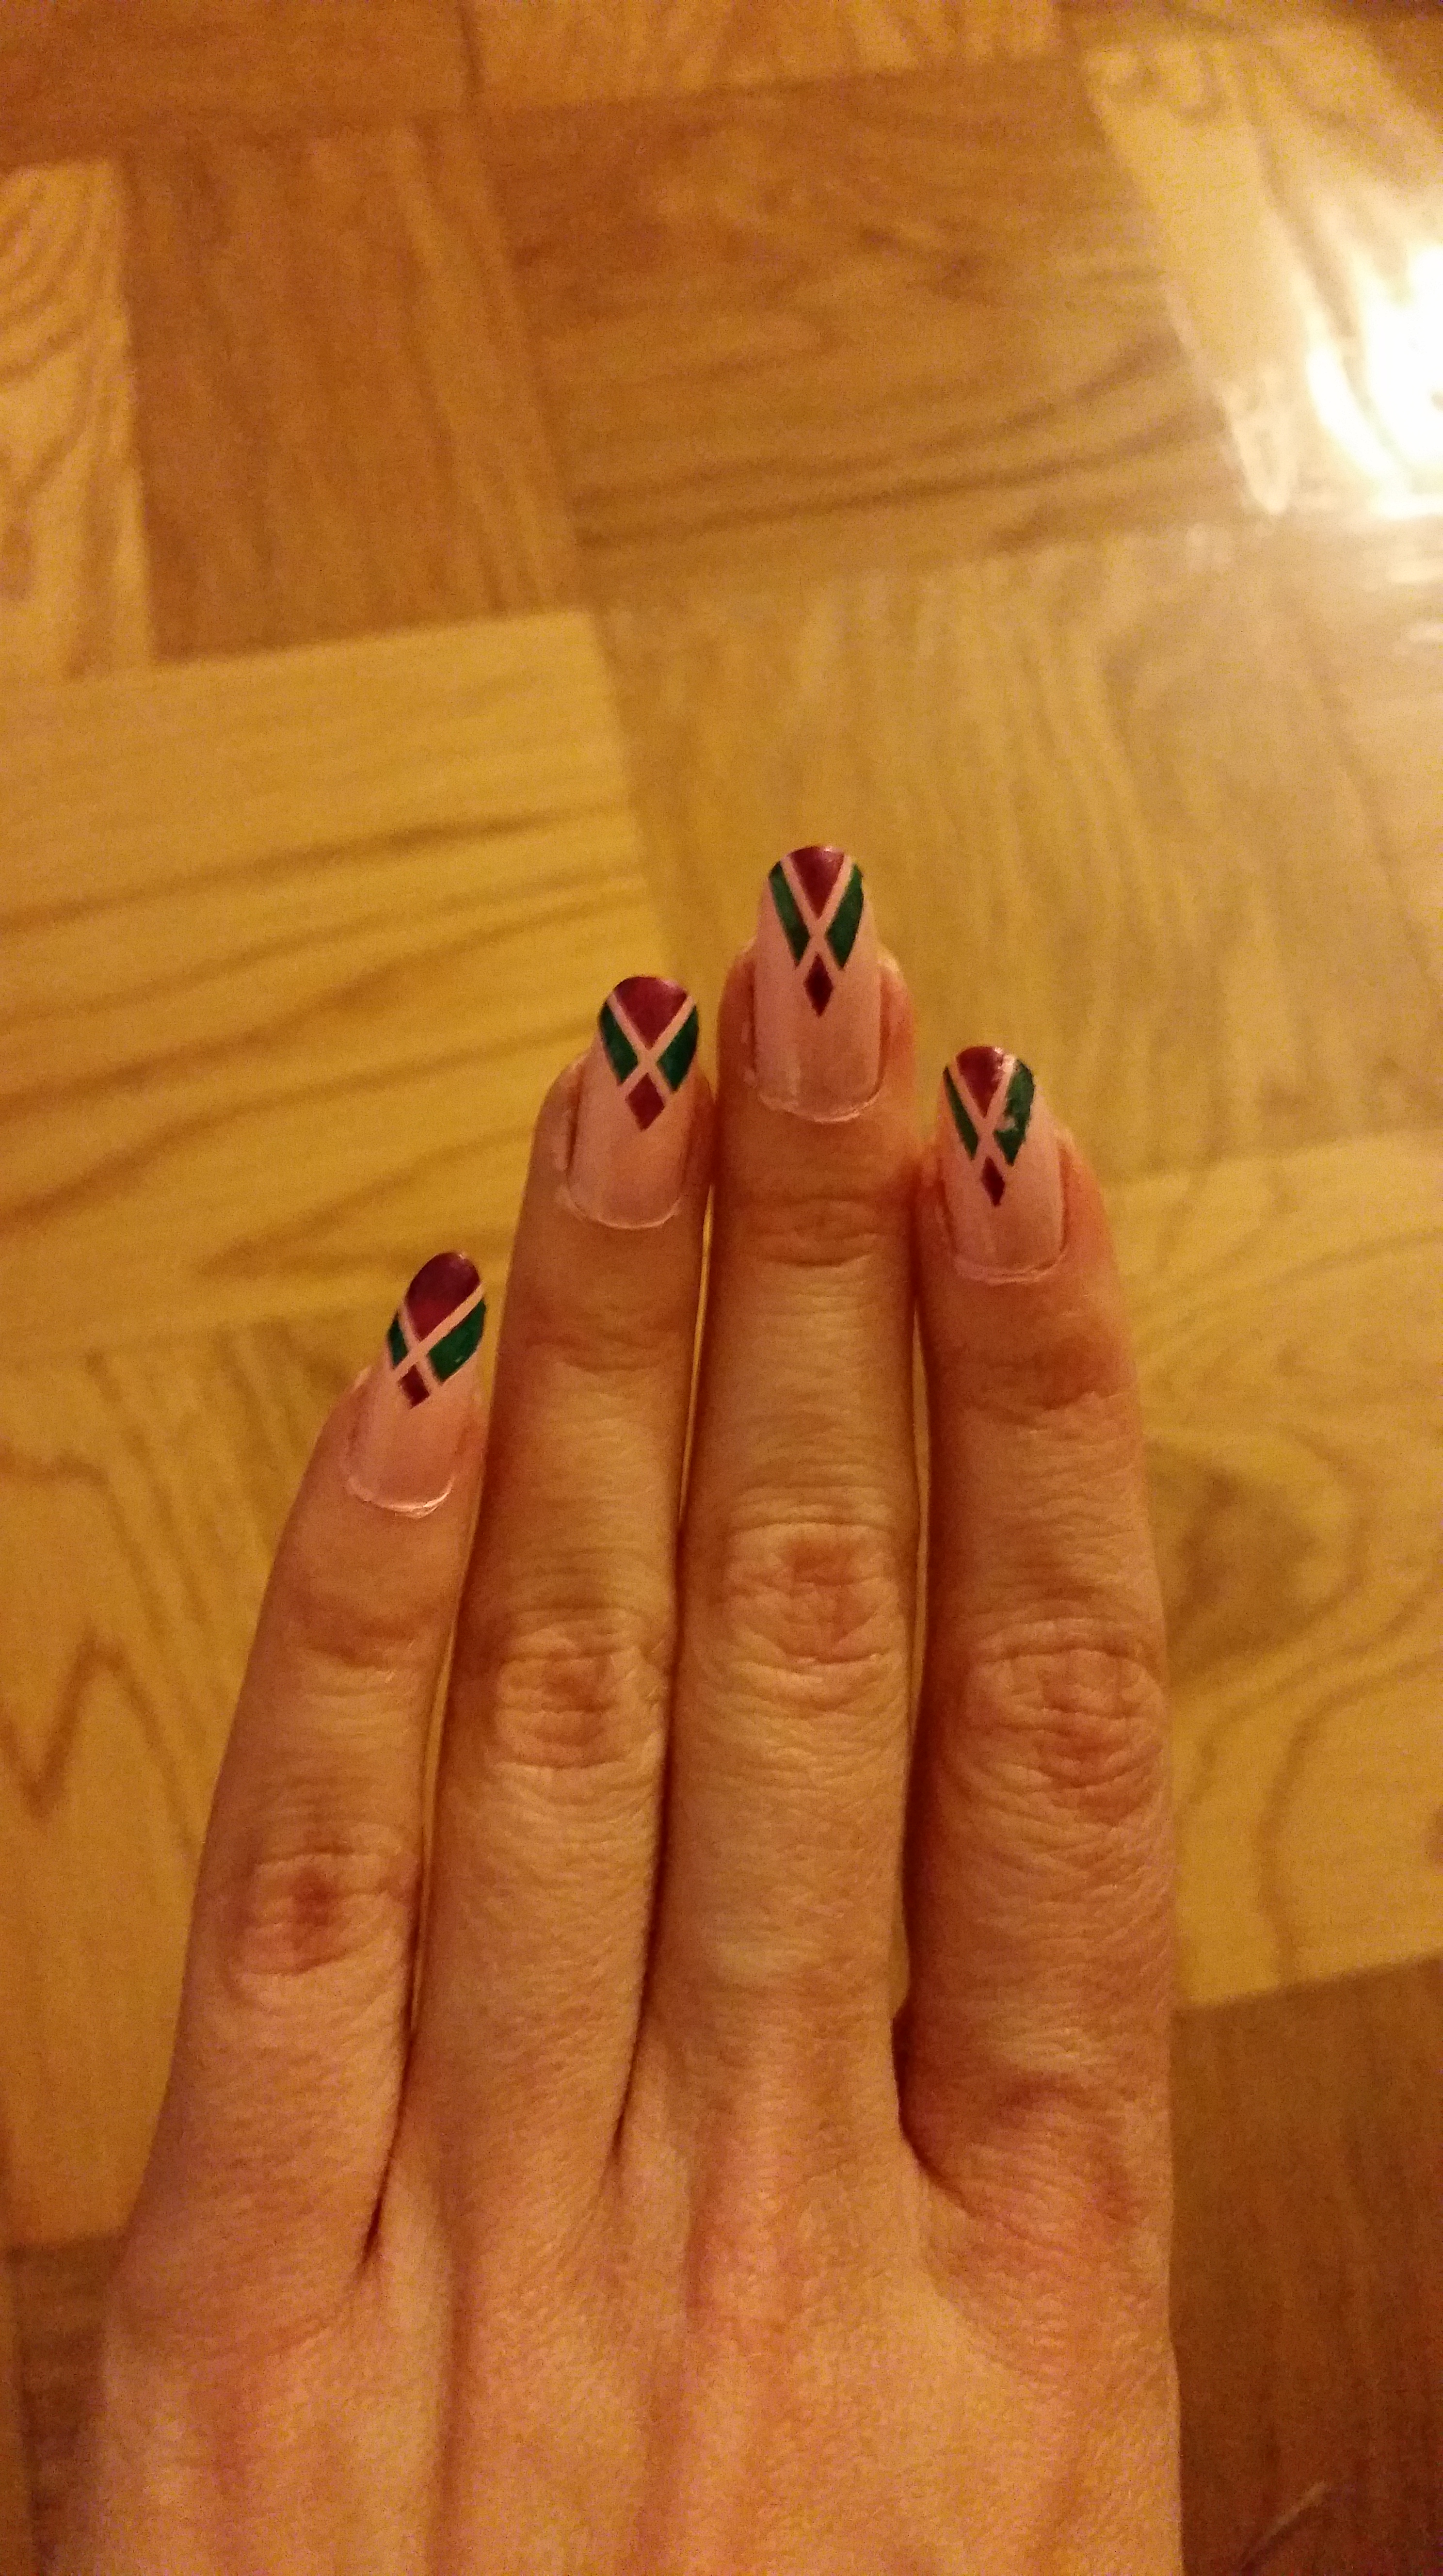
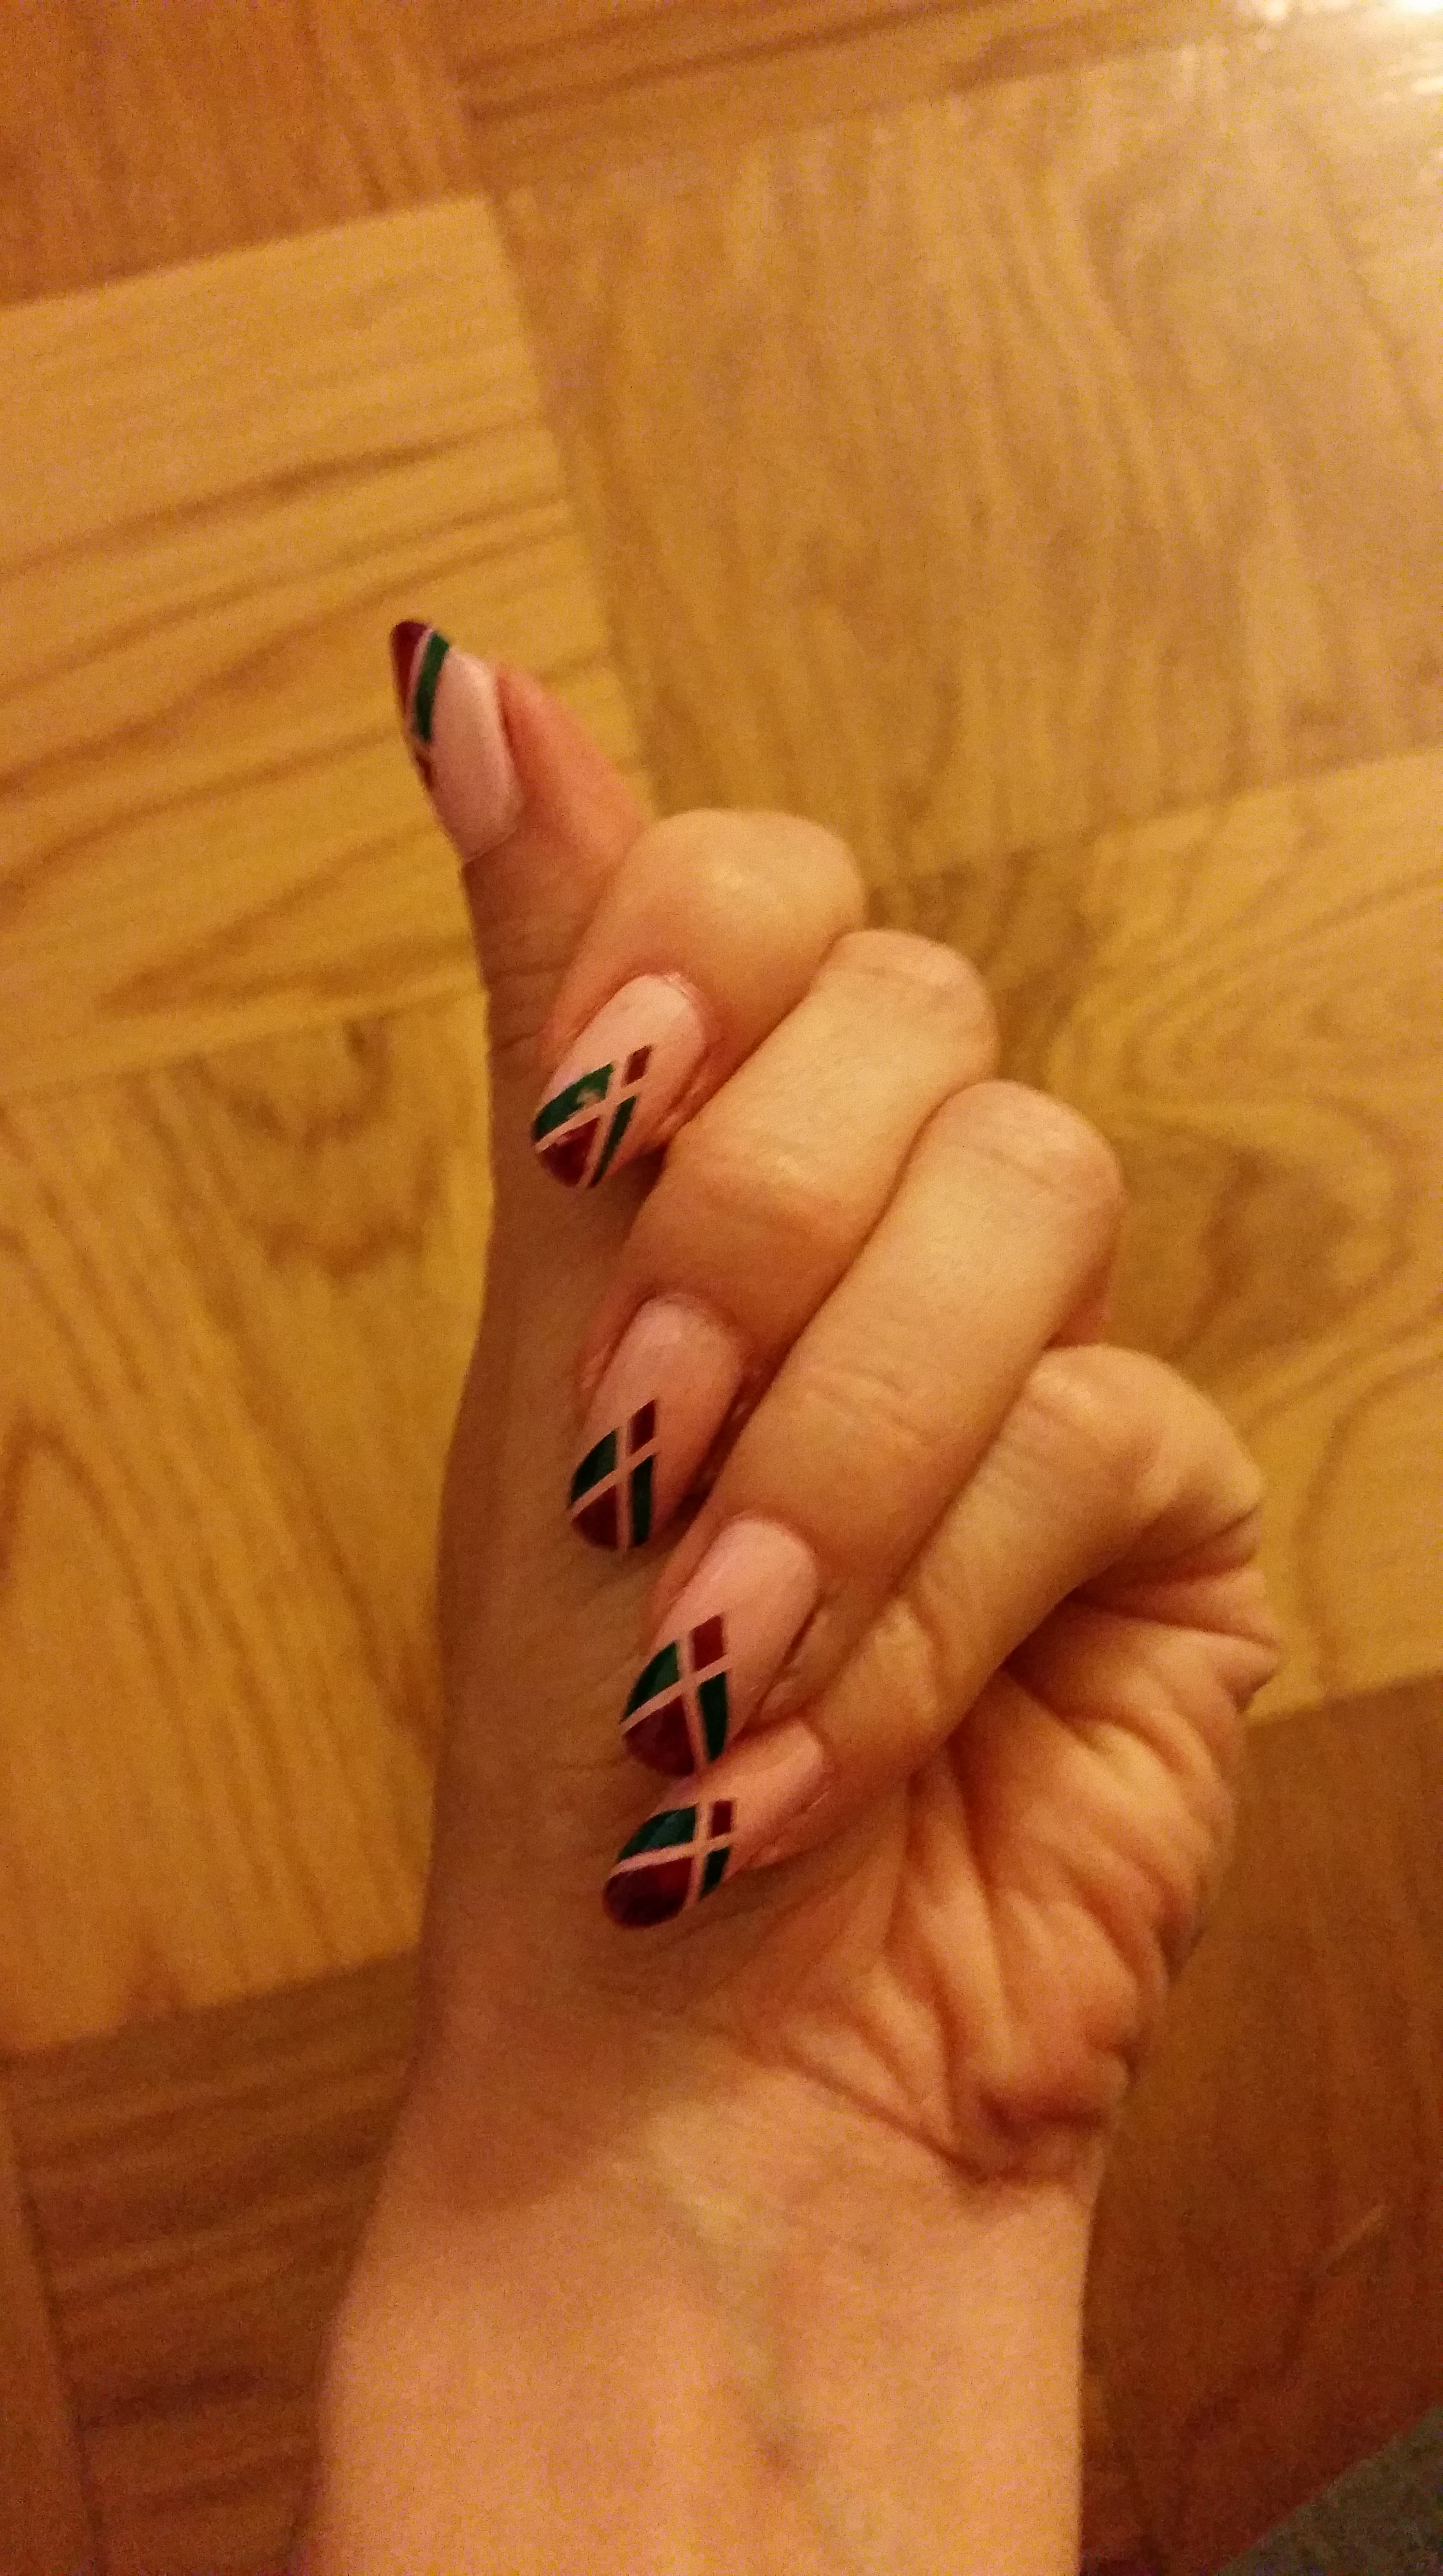
4. Place two longer segments meeting in a V shape on the nail. The V tip should be about in the middle of the nail. Then about 5mm from the tip place another tape segment diagonally from one v-edge to the end of the nail. Overlap with another tape segment from the other edge of the V. At this point make sure that the V-tip and the overlap of the criss-cross meet at the center and you can draw a line bisecting your nail down the middle.
5. Quickly paint the segments you want within the outline structure on the nail. I did this nail by nail and removed the tape right after I painted with a tweezer. The tweeze allows you to not get nail polish on your other clean nails.
6. Continue until the other hand is done in the same manner.
7. I used a top coat because this design is at the tip of the nail so it’s bound to chip. I also put the top coat on the edge of the nail to prohibit further chipping. This is a great trick I learned because that’s why polish chips: there’s an edge at the tip of the nail that allows for chipping, rough spots to develop, and so forth.
Let me know if you have any questions, comments, or suggestions!

LOVE it!! Pretty Gorgeous in Pink!